
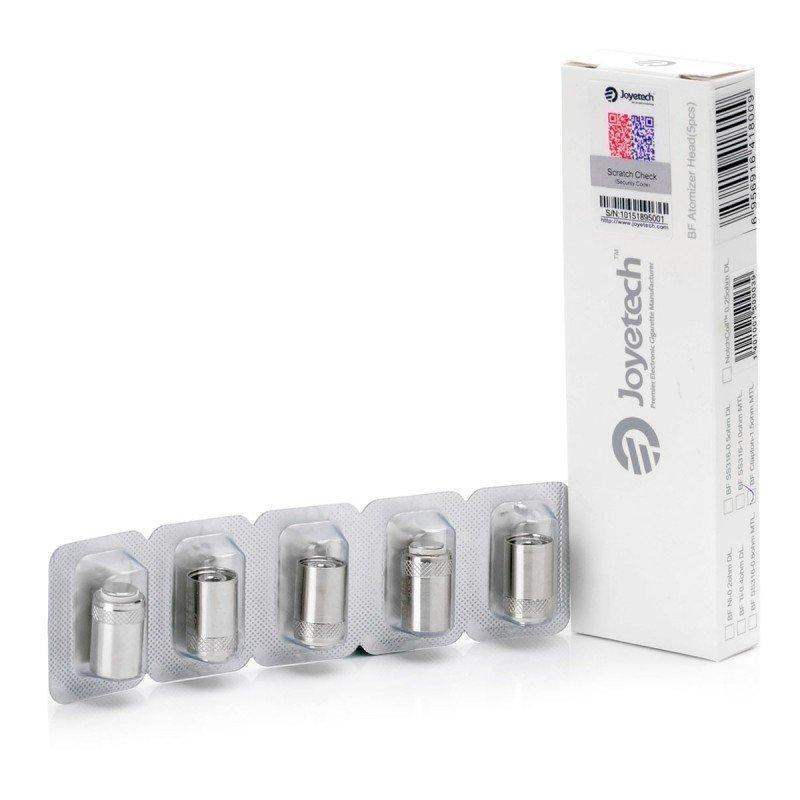
The BF series of coils from Joyetech are ideal in both the AIO Kit and eGrip II series of all-in-one devices. These Stainless Steel Coil Heads made with 100% pure Japanese organic cotton are compatible with wattage and temperature control (TC) modes in mods that support TC with Stainless Steel, making it incredibly versatile across multiple devices. While the 0.5 ohm coils are suitably for a direct to lung vape, the 0.6 ohm coils are aimed at vapers who prefer a mouth to lung vape. The spectacular Joyetech Cubis BF Atomizer Heads provide massive vapor clouds and truly robust flavour.

Joyetech Joyetech AIO Coils reviews
Video Transcript: eGo AIO Coil Rebuild SS316 0.6 ohm by Vape Love
First, remove the metal cap and after this, remove the rubber sealing. If you turn it around, you'll find the metal part where the air flow hole meets with the coil. By using a screwdriver, remove the metal part from the coil head in order to have more space. The coil was already removed from the shell. You can take it out however you like. There's no way that can damage the coil body. For building the coil, I'm using a 0.35 millimeter wire and a 2 millimeter screwdriver to roll on it. This will make us a 2 millimeter diameter for the air flow. I prefer to cut the wire before wrapping about 7 centimeters. It is easier to wrap this way than having the whole wire in your hand. By using the screwdriver, hold the wire with your thumb and give it eight wraps.
After this, squeeze it a little to be more condensed. Like this. The longer wire will be or negative, when you do bend it over the coil and leave about 1 millimeter distance. This wire will be the negative because it is on the outside and it's okay if touches the body walls. The one close to the screwdriver will be the plus. So, this is how we should make it. Now take the cotton and put the coil and the wire. First make sure the cotton is not that hard or pressed together. We need to spread it a little so the air can pass by and have more air flow. Don't go too hard and wrap the cotton too tight because you will lose air flow. When I wrap the cotton, I prefer to have the screwdriver on the coil. It will make it easier. Measure it and make sure it fits. Remove any cotton excess.
After this, start inserting the coil into the body by turning little by little. Press the cotton in and leave some space for the head metal part to fit back. I'm using the screwdriver to make the coil be in the center. Bend the negative wire, the one on the outside and in my case the longer one. This is the negative that touches the coil body. Make sure the wires don't touch. You need to make them to be on opposite sides. Now put back the rubber sealing. This separates the minus and the plus. So the wire close to the screwdriver, it is the plus and it needs to pass through the rubber sealing.
Using the screwdriver, make sure the coil it is in the center and put back the metal cap. After this, put back the top metal part. It is easier to use a hammer. Here I'm using the screwdriver. It is a little tricky, but if you use a hammer, it will be more easier. After this, cut the excess wires and you are done. Give it some e-juice to prepare the coil and moist it. Mount it on the eGo. Close the air flow and give it a few hard pulls, so that the juice will rise into the coil. If you turn up the eGo and the light blinks when you fire, it means the coil is not good. Otherwise, you can start vaping.
So, yeah. It vapes the same as the original coil. I really recommend you this build. So, yeah, if you like this video, feel free to like and subscribe. So, yeah, thanks for watching.