Eleaf Coils
How do I change the coil on my iStick Pico? What's up, guys? This is Vape Brat here with a quick tutorial for the iStick Pico. This is actually the Melo 3 Mini tank that it comes with, and that's what we're working with. So, as always, whenever taking or changing the coil or whatever, working on your tank, you're gonna unscrew the tank from the mod, like so. Reasons that you would wanna change your coil, whether it be that the coil is tasting bad, whether it be the coil is busted, or your tan


Video Transcript: How to Change the Coil and Clean Eleaf iStick Pico 75W TC Vape Mod Melo 3 Mini Tank Vape Brat by HookahTownUSA
How do I change the coil on my iStick Pico? What's up, guys? This is Vape Brat here with a quick tutorial for the iStick Pico. This is actually the Melo 3 Mini tank that it comes with, and that's what we're working with. So, as always, whenever taking or changing the coil or whatever, working on your tank, you're gonna unscrew the tank from the mod, like so. Reasons that you would wanna change your coil, whether it be that the coil is tasting bad, whether it be the coil is busted, or your tank is starting to leak a little bit because the coil is singed a little bit or overused, those would all be reasons that you would want to change your coil.
So once you have your tank screwed off of your mod, first thing is if you have juice inside your tank, you would want to open up your tank from the top the same way you fill it, and spill out any juice that you have in there. If you wanna reuse that juice, you're more than welcome to. That's completely up to you. Once you have that done, let's close that back up. And now, let's open up the tank to change the coil. So to change the coil, we'll be unscrewing this portion. To open up the tank to fill it, you unscrew this portion up top. To change the coil, it's this bottom ring right here. You'll be holding the entire tank, except for that bottom portion, that bottom ring. That bottom ring is held with your other hand. And righty tighty, lefty loosey, you'll be twisting it to turn it off.
If you have trouble getting this off, there are several ways you can get it off, whether it be running under hot water for a little bit and then trying to turn it off. If that doesn't work, you could always use a paper towel and pliers where you cover with paper towel and then you use a plier, squeeze and turn it. That will also help, you're covering with a paper towel to prevent scratching on the actual surface of the tank. But those two ways typically will work if you're having an issue unscrewing it by hand. Next time, just don't tighten it that much and make sure that no juice gets into the threading over here, but sometimes that's just inevitable.
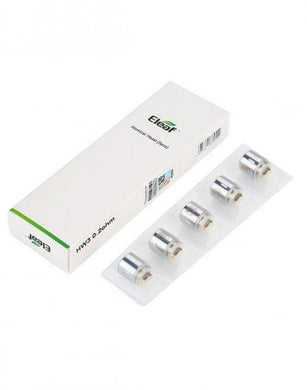
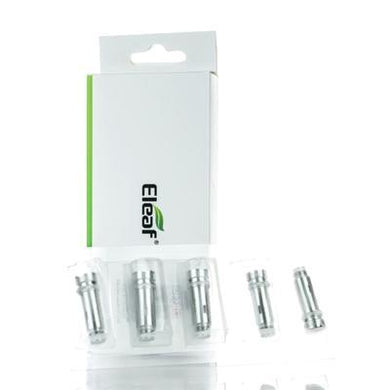
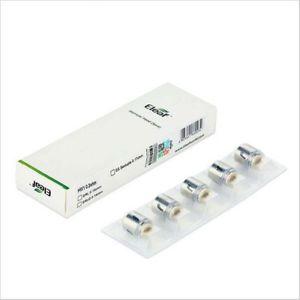
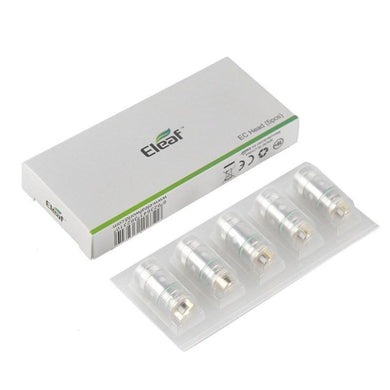
So, again, just to show you again. To unscrew it, we'll do righty tighty, lefty loosey, unscrew that portion. And once we have that unscrewed, we'll want to unscrew this coil. And again, that's righty tighty, lefty loosey. Likewise, if you're having an issue, take pliers squeeze it down on there, twist that off, and you should be fine. Once you unscrew it all the way, you'll be able to pop it out. Over here, we have the different coil options for the Pico. I have the 0.3 ohm coil and the 0.5 ohm coil to choose from right over here. You just pop one out from inside there. Let's pretend this is the new coil, we'll take our base and we'll put it back into our base to unscrew it, it's righty tighty, lefty loosey so righty tighty, let's turn it to the right and let's get that nice and tight. Once you have it nice and tight, you'll be able to put it into here, like so. And once again, righty tighty, lefty loosey. And once it's nice and tight, you can open up the tank, fill it once again with liquid into the two semi-circles, one over here, semi-circle slots, I should say, one over here, one over here.
Close that back up. You would wanna prime your coil, you can do that one of two ways. You could prime it through here, you could have primed it when it was outside of the tank, or real quick, just to show you, you could prime it, like, putting juice on these holes, but we have a video showing exactly how to prime a coil. And once you have that screwed back on, sorry, I just wanted to show you how to prime the coil, you could also prime it from up top and then you fill up the tank. Let's close that back up, make sure everything is nice and tight, screw it back on to your mod, and you are ready to rock.
That is how to change a coil for the iStick Pico Melo 3 Mini tank. If you guys have any questions, definitely let me know. This has been a Vape Brat tutorial.