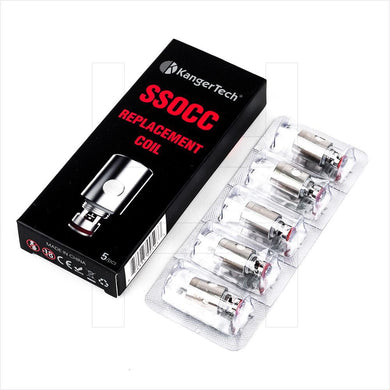
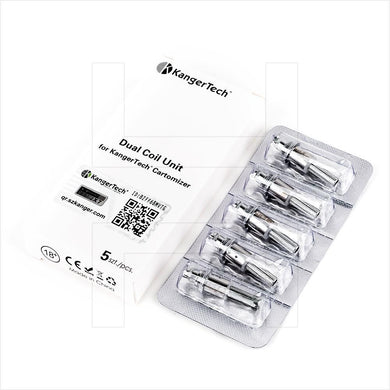
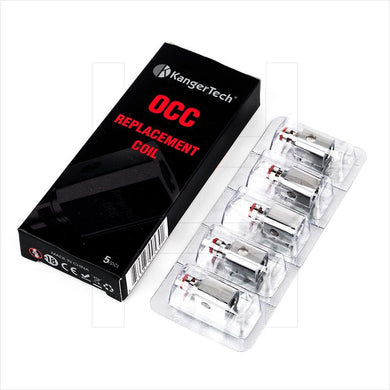
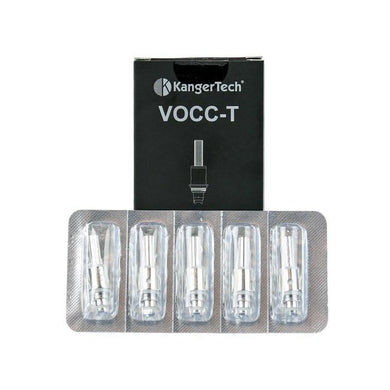
KangerTech Coils
Today, I'm gonna show you, vapers how to rebuild your OCC coil head for your Kanger Subtank. So let's go ahead and dive down and get right to it, shall we? Okey freaking dokey. So here's what I'm gonna be using today for this build. First of all, you gotta have a Kanger Subtank to attempt this. Gotta have one, but I'm gonna be using some 26-gauge Kanthal, a pair of scissors, a pair of clippers, a 3-mm screwdriver, a 2.4-mm rod or something equivalent to a 3/32nd drill bit, a torch and some or


Video Transcript: Kanger Subtank OCC Build by RiP Trippers
Today, I'm gonna show you, vapers how to rebuild your OCC coil head for your Kanger Subtank. So let's go ahead and dive down and get right to it, shall we? Okey freaking dokey. So here's what I'm gonna be using today for this build. First of all, you gotta have a Kanger Subtank to attempt this. Gotta have one, but I'm gonna be using some 26-gauge Kanthal, a pair of scissors, a pair of clippers, a 3-mm screwdriver, a 2.4-mm rod or something equivalent to a 3/32nd drill bit, a torch and some organic cotton.
Alrighty, so here's a prebuilt coil head. A 0.5 ohm prebuilt subtank coil head. What we're gonna go ahead and do is take this sucker apart, pull the cotton and the coil out. First thing, I'm gonna pull this pin out. Notice how you got one lead coming out the center and then you got one lead coming out the side. Right there. Pull this little rubber grommet out. And there she is.
So once you've taken the pin, the rubber grommet, the coil, and the cotton, all you're left with is a shell. But now, it's time to rebuild this sucker. Okay, so first things first, I've got my 3-mm screwdriver in my hand as you can see, and then I've cut about 8 inches of this 26-gauge Kanthal. And you wanna make sure that each lead on either side is about 3 inches in length. And then all you're gonna do from there is do five standard wraps. They don't have to be perfect. It's always easy to mold Kanthal. Straighten each lead out. Now, you want this coil to wrap to be as even as possible and as you guys can see, they're good, but they're not great. We gotta get great. We gotta get great. So what I'm gonna do is I'm gonna go ahead and push this coil against this lip. Get in there with my fingernail and pull these wraps, space them out evenly. And that's what we want right there. Evenly spaced. Next step, slide the coil off the screwdriver, and then all we're gonna do is hit her with a torch a couple times. Turn her. Let it cool off for about a minute.
Alright, the next step is we're gonna grab our coil, grab the shell, the coil head shell and then we're gonna pinch the leads as close together as possible at the ends and we're gonna insert this bad boy. All the way through. Alrighty. You wanna even it out, make sure that the hole where the coil is parallel, completely parallel through and through. And here's where this 2.4-mm rod or 3/32nd drill bit come into play. For stability, insert this rod through the coil, through the hole. Through the coil and throughout the other hole. Slide right through just like that. And as you guys can see, she's going through the coil. You gotta make sure that the coil is centered, okay? It can't be to the right or the left because if it is, you don't want it touching on the inner wall of this coil head and shorting out. So, it's gotta be completely centered. Hold the rod into place. Slide the rubber grommet over one of the leads like so.
And as you guys can see, one of the leads is coming out the center, and then one is coming out the side. You wanna make sure that this grommet is press fitted all the way, pull out and pull up, it centers that coil. It's one of those things where you just have to feel it out, okay? Now, we gotta take the other lead and do the same thing, pull to the side. Okay, holding those leads down. And pie-ow! That coil is still centered, baby. Next step, what I've done is I've pulled the leads up just a little bit to be even, so I can clip them a lot easier. I'm gonna take my clippers, get in there, nice and tight and clip it right at the edge. The same thing on the other side. Double check to make sure that the coil is still centered. And she is.
Alright. So, once we've installed the coil, clipped the leads, and got her all centered, what we're gonna do is pull this rod out and we're gonna go ahead and insert our cotton. Oh, yeah, one more caution, whatever you do from here on out, do not screw this on your base on your mod and get the coils nice glowing hot and red, because if you do that, it's gonna burn through the rubber grommet, and you're gonna short it out. Alright, so the cotton I'm gonna be using today as you guys saw at the beginning is this Cogan Joe's organic cotton and this Cogan Joe, it's sandwiched, okay? Each sheet is sandwiched. So what I've done is, I'm using one sheet or used one sheet and I've cut a slither about 7 mm in width. That's what you want, that's what's worked for me and all I'm gonna do is I'm gonna go ahead and twist the end. Twist it nice and tight.
Next step, I'm gonna go ahead and insert this twisted end through the coil, and gently pull through. And now you wanna feel tension. You don't want it to be like where it's pulling the coil out of place because the coil's still gotta be centered, but you want there to be tension. Too loose, and it will flood; too tight and you're gonna pull the coil out of whack. As long as the coil still stays centered and you're able to just pull through and feel tension at the same time you're good to go.
Alright, so next step, I'm gonna go ahead and take my scissors and clip right about not quite on the end, just to where there's a little bit hanging out. Repeat the process on the other side. Fluff the end a little bit. Next step, we're gonna go ahead and screw this coil head into the base. Prime her up with some juice.
Okay, so here's another crucial thing I wanted to go over, especially before we fill this sucker up and vape her, you gotta make sure that these leads are not showing at all. Here's a good rule of thumb. If I can't fit the coil head in here, that means that one of the coils is protruding, and it's gonna be touching. You're gonna have a short, you wanna make sure it slides right in, screws in, you're good to go. If it catches, you gotta go in there, you gotta pull the pin out a little bit, clip the lead to where it's not showing and you'll be good to go. You won't have a short.
Alrighty, so I got the OCC coil head, the rebuilt OCC coil head screwed into the base, screwed onto this DNA 40 device. And with the build, I just showed you, it should read 1 ohm, I mean pretty darn close, this is the DNA 40 so it's gonna be a little bit down to the T accurate. But, yeah, it should be about 1 ohm with the five wraps around 3-mm screwdriver with the 26-gauge Kanthal. So we're gonna go ahead and fire up at 18 watts, and see how she does. Oh-ho, yeah. So I got this baby all filled up. Let's go ahead and take her back to face time, vape on her, and talk about her.
Alrighty, so that is how to rebuild your OCC coil head for your Kanger Subtank right now just like I showed you guys in the close-ups. Got a 1 ohm build using that 26-gauge Kanthal, wrapping around a 3 mm screwdriver. And boy, she's a vape in a tree, got her at 22 watts. And for me, with this method, she's vaping just as good as a stock coil head. Just as good. And right now, I'm using a 50-50 VG/PG-based juice and I'll tell you what, it's perfect the way I cut the wick that 7 mm in width, it's perfect, it's just tight enough, it's not too tight, but at the same time, I'm not getting any gurgly. It's not leaking at all, it's perfect. But for the guys that vape the heavier VG-based juices, 60 VG, 70 VG and higher, I recommend cutting the wick down to around 5 mm in width, 5 mm in width versus the 7 mm in width for the thinner-based juices. So, I hope that helps. Give it a shot.
This is RiP Trippers. And remember, smoking is dead. Vaping is the future. And the future is now.